
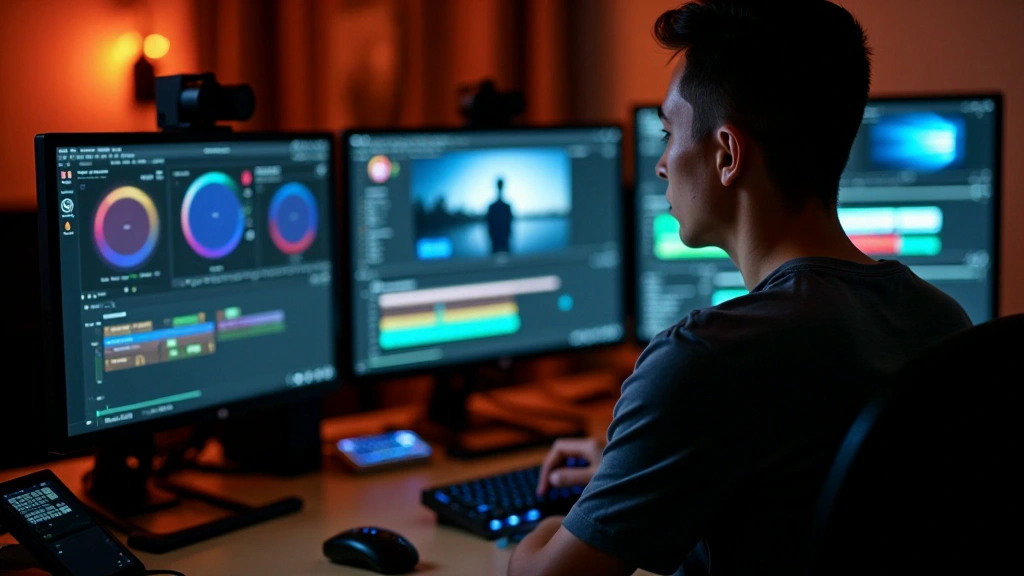
From raw footage to a consistent colour grade
Use white balance, exposure curves and saturation adjustments to build a consistent finish across your footage.
Read the articleArrange your footage, choose purposeful transitions and build a story that flows. Learn the habits that make a timeline easier to manage.

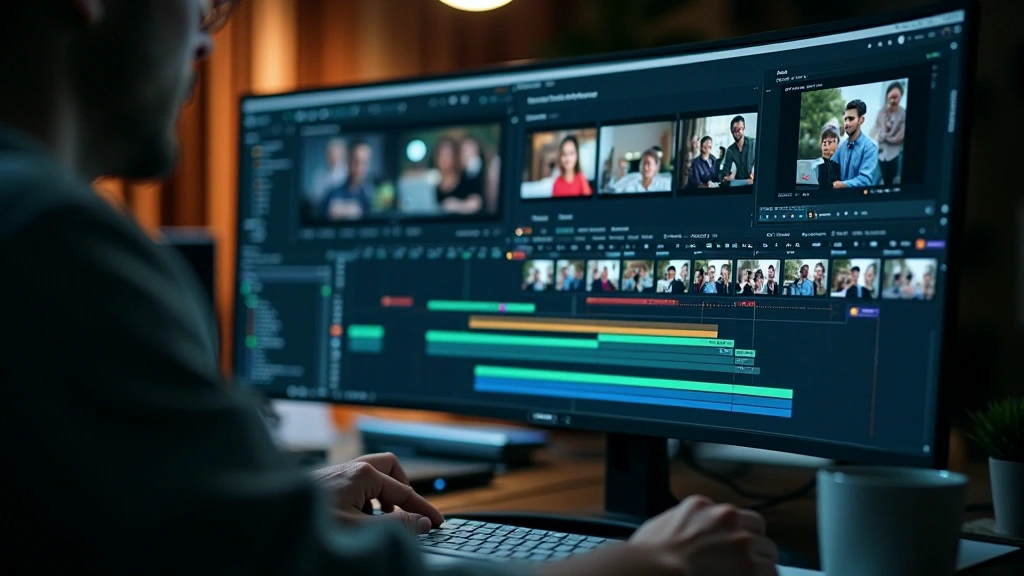
Your timeline is where individual shots become a story. A clear structure leaves more attention for creative choices and less for searching through the project.
Starting without a plan can leave clips scattered across unnamed tracks. A little organisation at the beginning helps prevent repeated searching and confusing revisions later.
This guide walks through track layout, clip structure and narrative flow. Use it to create an editing workspace that stays manageable as the project grows.
Plan a simple structure before placing the first clip. Keep video and audio roles distinct so the timeline is easy to read as you add material.
Use a primary track for the sequence of shots. Leave room on additional tracks for overlays, titles and effects when the project calls for them.
Place dialogue, music and sound effects on dedicated tracks. You can then adjust their levels independently and manage the final mix more clearly.
Labels such as B-roll, Interviews and Titles are more useful than Video 1 and Video 2. Descriptive names make a long project easier to navigate.
Choose a consistent colour code for your tracks. For example, you could use red for dialogue, blue for music and green for effects. The exact scheme matters less than using it consistently.
A well-chosen transition can connect ideas or soften a change in time. Give it a purpose rather than adding an effect simply because the software offers it.
A different transition at every cut quickly becomes distracting. Use a small, consistent set of choices and let the footage establish most of the rhythm.
A dissolve can connect two shots gently. Start around 300 to 500 milliseconds, then adjust the duration to match the pace and meaning of the cut.
A direct cut can be more effective than an elaborate effect. Watch the action and rhythm to decide whether a transition is needed at all.
Reserve wipes, stylised dissolves and 3D effects for moments that justify them. Too many competing effects can weaken the sequence.
The arrangement of clips should reflect the structure of the story. Ask why each shot belongs in that position and what it adds.
Think of the timeline as a visual script. Give viewers a clear progression through the setup, development, key moment and resolution, adapting that pattern to the project.
Try this before refining the cut: Build a rough assembly with clips in their intended order. Leave detailed timing and transitions for later. You can judge the overall structure early and avoid polishing sections that may be removed.
Allow important moments enough time to register. Connecting shots may move faster, while a key reaction or detail may need room to breathe. Those choices establish emphasis and tension.
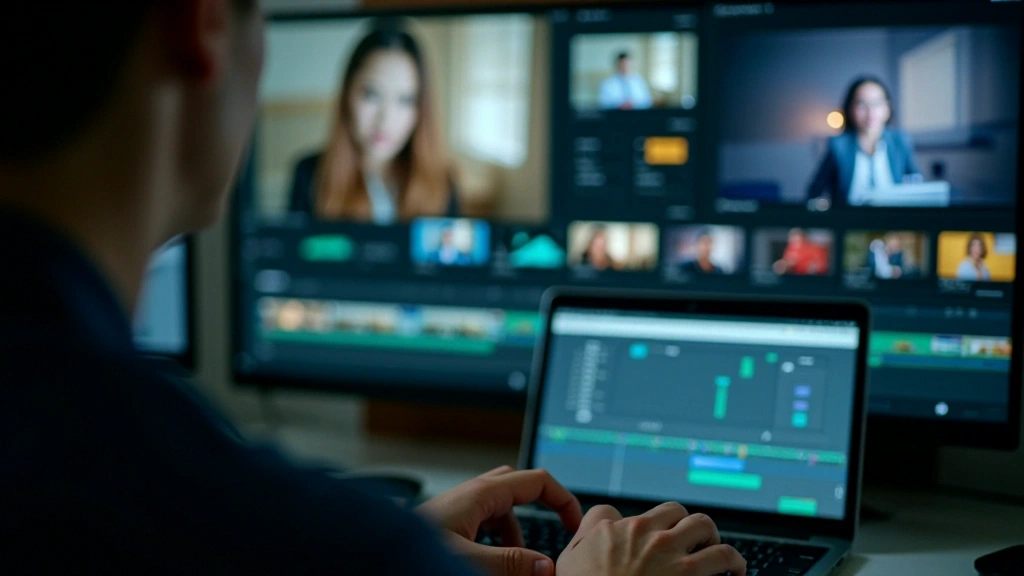
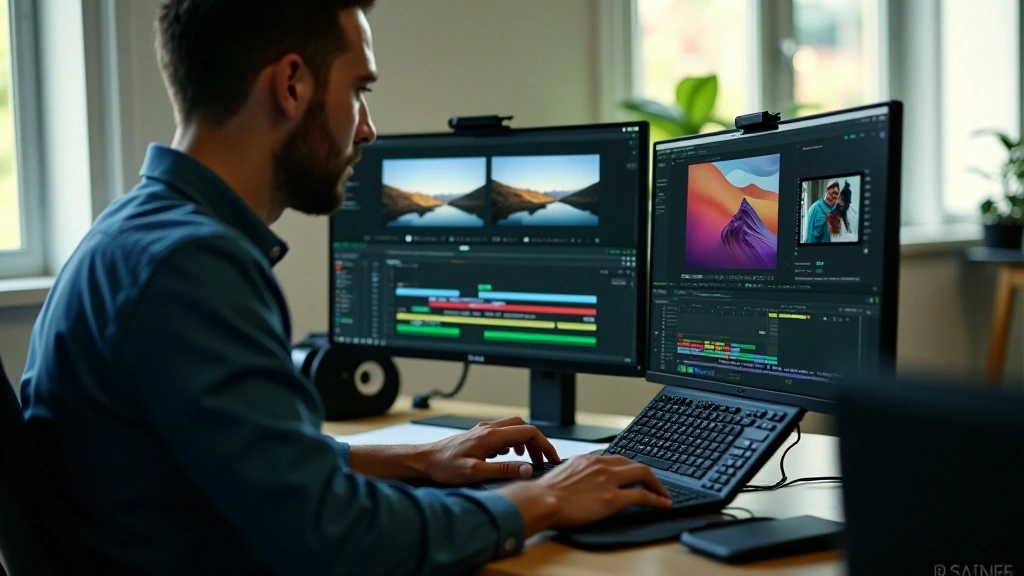
Organisation becomes more valuable as a project grows. A readable timeline reduces time spent hunting for clips and helps you make revisions with confidence.
A few habits make a practical difference:
Editorial Team
Written by the Montivelle editorial team, with a focus on clear, practical post-production learning.
Strong editing starts with organised tracks, a clear story and well-chosen cuts. Complex effects are useful only when they help those foundations.
Experienced editors keep revisiting these basics. Discipline and organisation make creative decisions easier to carry through a complete project.
Practise the habits on a short sequence, then bring them into larger projects. Over time, the structure will feel natural and leave more attention for the story.
Learning note: Progress varies between learners. This guide presents core editing principles and useful habits; confidence comes from regular practice with your own editing software.
Use white balance, exposure curves and saturation adjustments to build a consistent finish across your footage.
Read the article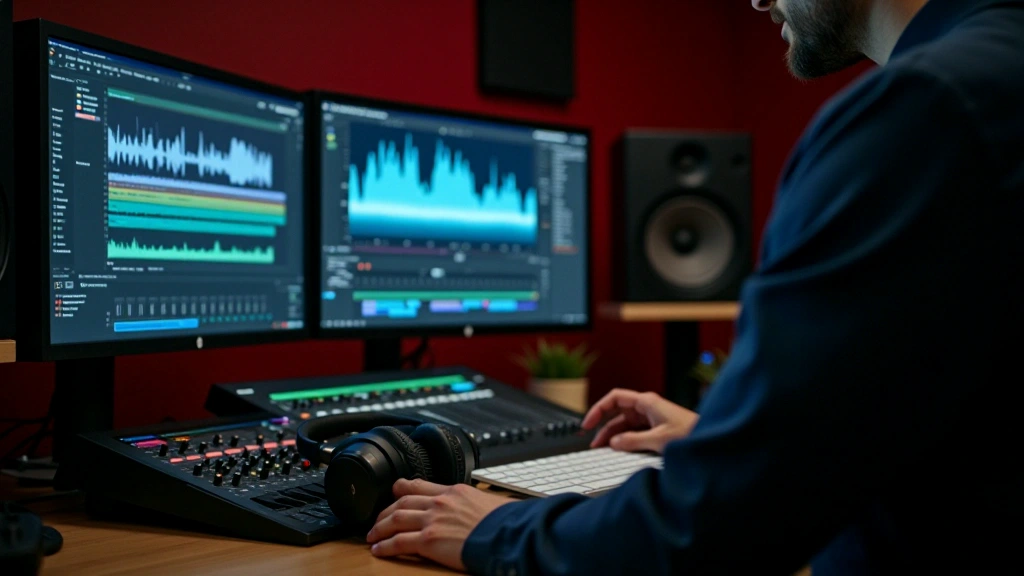
Bring the soundtrack into alignment, balance its levels and create a coherent audio mix.
Read the article
Add purposeful titles, animation and visual effects that support the quality and clarity of your video.
Read the article